Aufguss Bundles
 Ätherische Öle
  Probierboxen
 Sauna Mützen & Kissen
 Sauna
Sauna
 Bundles
 Beliebt in der Sauna
 Beliebt im Diffuser
 Sauna Eimer
 Sauna Messgerät
 Rückenlehne & Kopfstütze
 Massage
 Sauna Extras
 Geschenk bis 50 Euro
 Geschenk bis 100 Euro
 Sauna Salz
 Sauna Honig
 Sauna Peeling
 Zubehör
 Geschenk & Bundle
 Alles aus Textilien
 Saunahut
 Sauna Kissen
 Sauna Kilt
 Geschenk-Set & Bundle
 Sauna Handtuch
 Sauna Bademantel
 Alles aus Sauna
 Fasssauna
 Innensauna
 Eistonne

Escape the Stress of Everyday Life: Your Own Sauna at Home
In our hectic times, we all long for peace and relaxation. A sauna offers exactly that: a soothing warmth that invigorates body and mind. But who wants to arrange every visit to a public sauna with travel time and opening hours? The solution: Build your own sauna at home! With a little craftsmanship and this comprehensive guide, you can bring the wellness experience directly into your own four walls.
Planning is the Key to Success
Before you start building your own sauna, you should plan carefully. There are many factors that play a role in planning a home sauna. You should consider in advance which type of sauna best suits your needs, what size is appropriate for your premises, and what features are essential for your ideal sauna experience.
1. Type of Sauna - What Sauna Experience Do You Desire?
Choosing the right type of sauna is the first important step towards your personal wellness experience. Each sauna variant offers unique advantages and is tailored to different needs:
- Finnish Sauna: The classic sauna, known for its high temperature of 80-90°C and low humidity. The intense sweating in a Finnish sauna has a cleansing effect and invigorates the senses. It is perfect for sauna enthusiasts who love the traditional, intense sauna experience.
- Bio Sauna: The gentler version of the Finnish sauna with lower temperatures (60-80°C) and higher humidity. Bio saunas are particularly well-tolerated and offer a mild, relaxing sauna experience. They are perfect for beginners and people who prefer a milder form of sauna bathing.
- Steam Sauna: The steam sauna, also known as a Turkish bath, is a moist heat experience with temperatures of 40-50°C. The hot steam opens pores, cleanses the skin, and loosens muscles. Steam saunas are particularly suitable for people with respiratory problems and for relieving tension.
- Infrared Sauna: The infrared sauna differs from classic saunas as it uses infrared rays that deeply warm the muscles. This heat penetrates deeper into the body and has anti-inflammatory and pain-relieving effects. Infrared saunas are particularly suitable for muscle tension, rheumatic complaints, and detoxification.
2. Size and Placement - Where and How Big Should Your Sauna Be?
The size of your sauna depends on the number of people who will use it simultaneously. For one person, a small sauna with a footprint of 1.5 x 1.5 meters is sufficient. For two people, you should plan a larger sauna of at least 2 x 2 meters. Make sure there is enough space for the sauna bench, the stove, and comfortable movement. A small table for drinks and towels is also recommended.
The placement of the sauna is also crucial for the later sauna experience. Choose a dry and well-ventilated room that is easily accessible. A basement room, an attic, or a bathroom are suitable, as long as they meet the requirements for dryness and ventilation. Avoid damp areas, as these can damage the wood.
3. Material Selection - Which Materials Suit Your Style?
Various materials are suitable for building a sauna. However, wood is the most popular choice because it stores heat excellently, creates a natural indoor climate, and is visually appealing. Alternatively, you can also use stone or concrete, but for these materials, you should plan for additional thermal insulation.
- Wood: Spruce, fir, pine, or cedar are robust and water-resistant types of wood that are well suited for sauna construction. When choosing wood, make sure it has low resin formation.
- Stone: Granite, marble, or slate are robust and durable, but also more expensive. They are particularly suitable for the exterior cladding of the sauna or for designing sauna stoves.
- Concrete: Concrete is an inexpensive and easy-to-work alternative to wood and stone, but it requires additional thermal insulation. If you opt for concrete, you should consult a specialist who can professionally carry out the necessary insulation measures.
4. Equipment - Choose the Extras You Want to Enjoy
The equipment of your sauna depends on your individual needs and your budget. In addition to basic elements such as a stove and sauna bench, you can enhance your sauna with additional extras that make the sauna experience even more pleasant.
- Stove: The heart of every sauna is the stove, which generates heat. Choose a stove that fits the size of your sauna and provides the desired heat output. Wood-burning stoves are traditional and exude a cozy atmosphere, while electric stoves are easier to install.
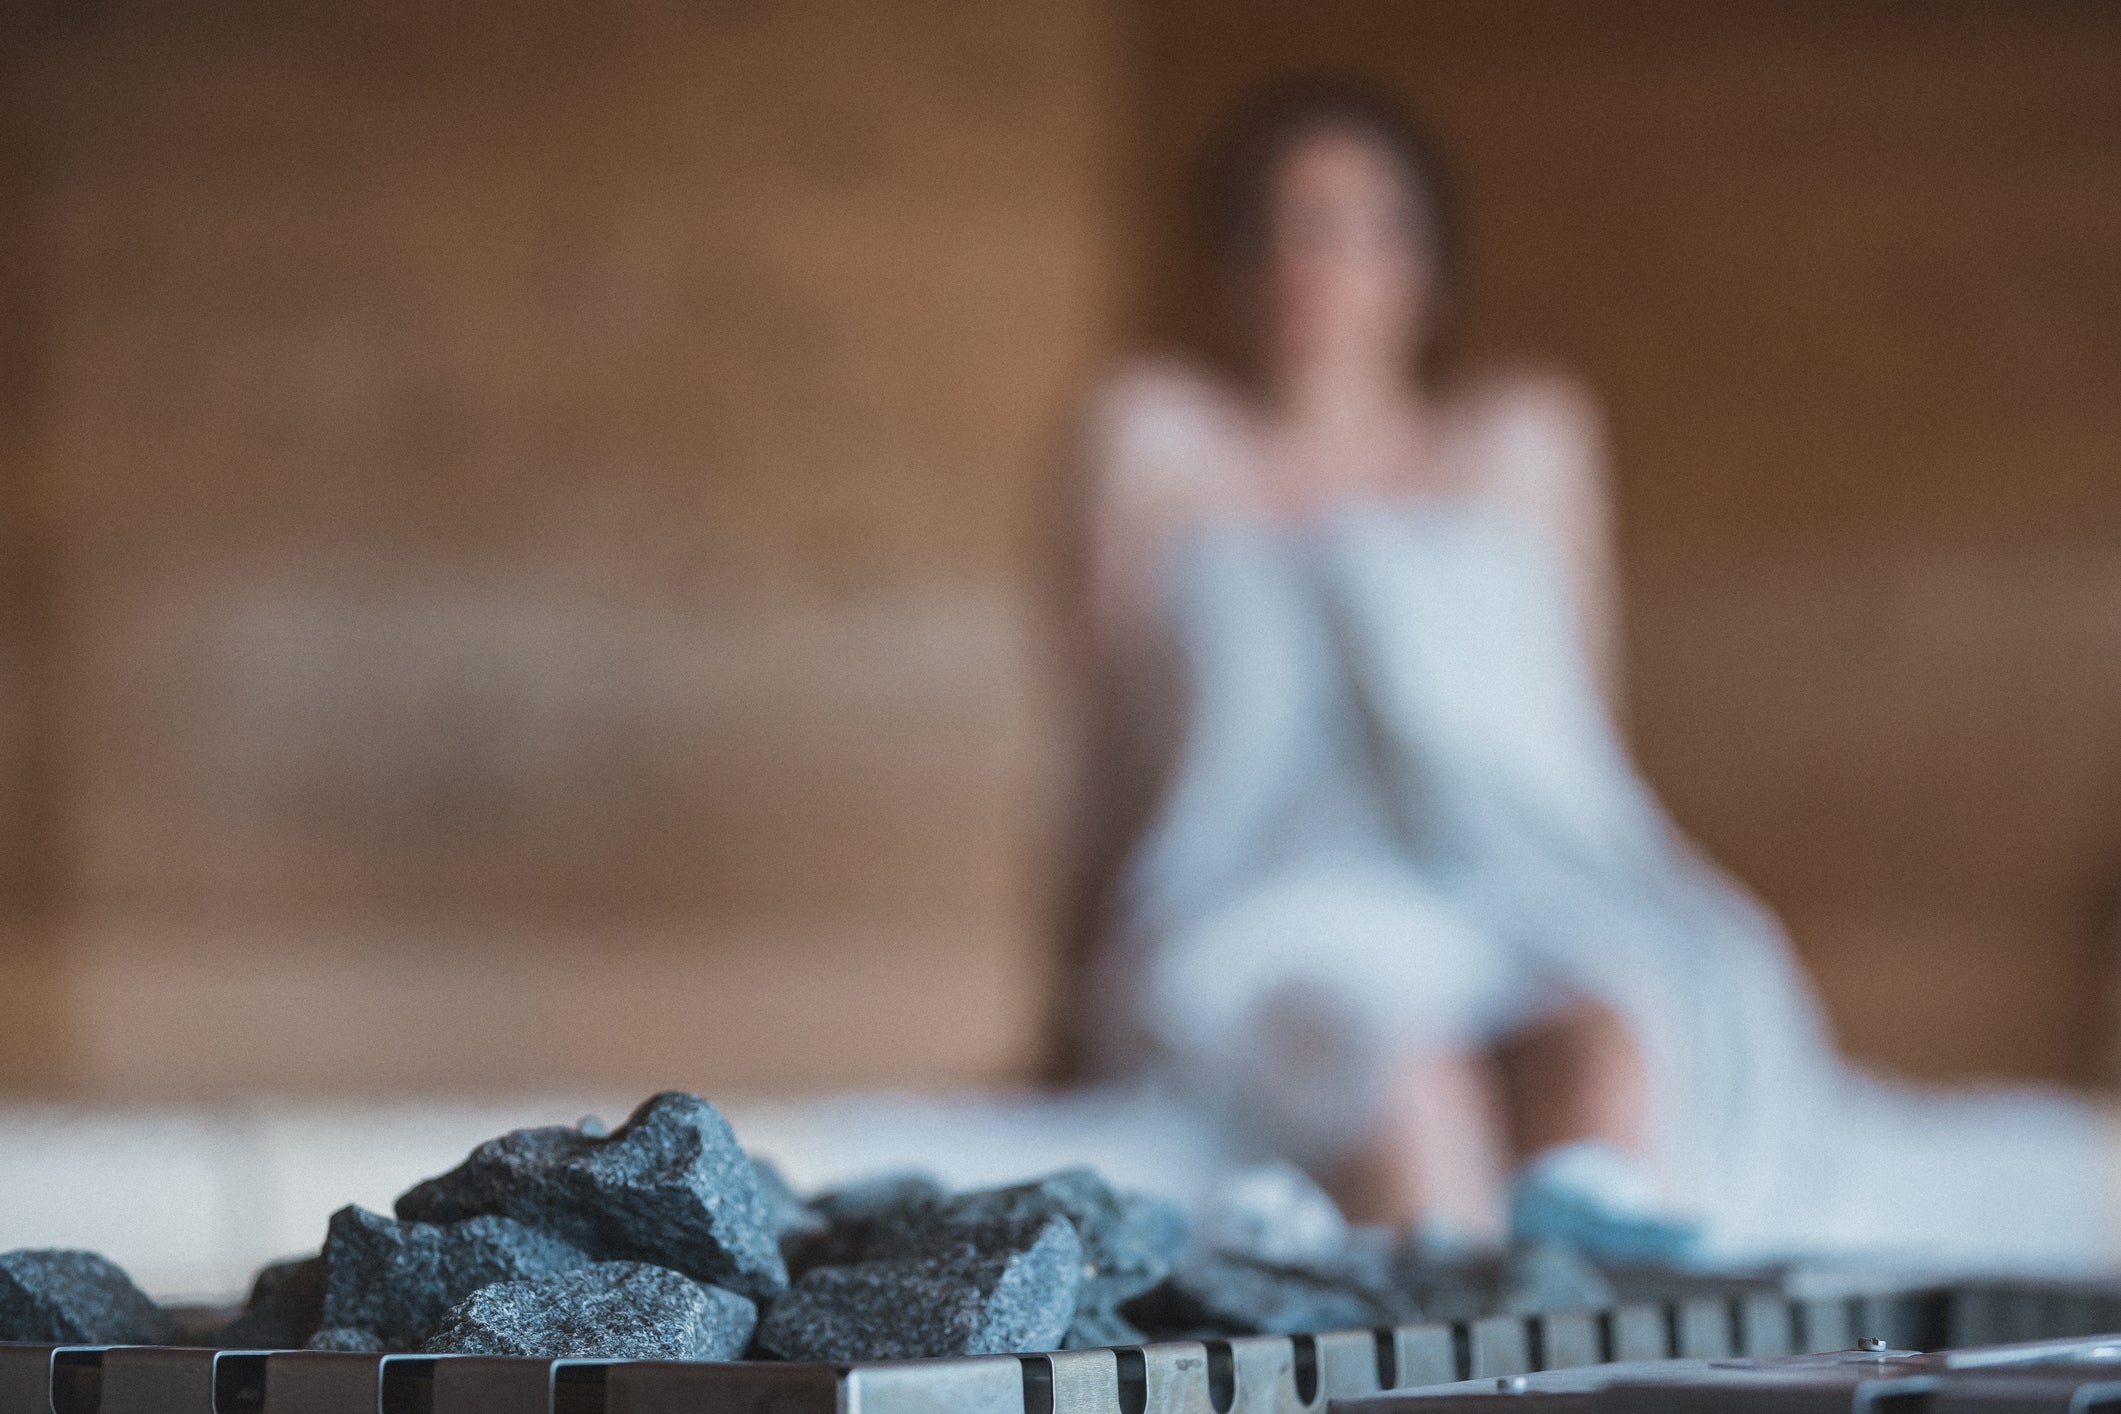
- Sauna Stones: Sauna stones store the heat from the stove and release it into the air. Different types of rock, such as granite, diabase, or soapstone, have different properties and influence the sauna experience.
- Sauna Bench: The sauna bench should be made of waterproof wood and be comfortable. Pay attention to an ergonomic design and sufficient space for your feet.
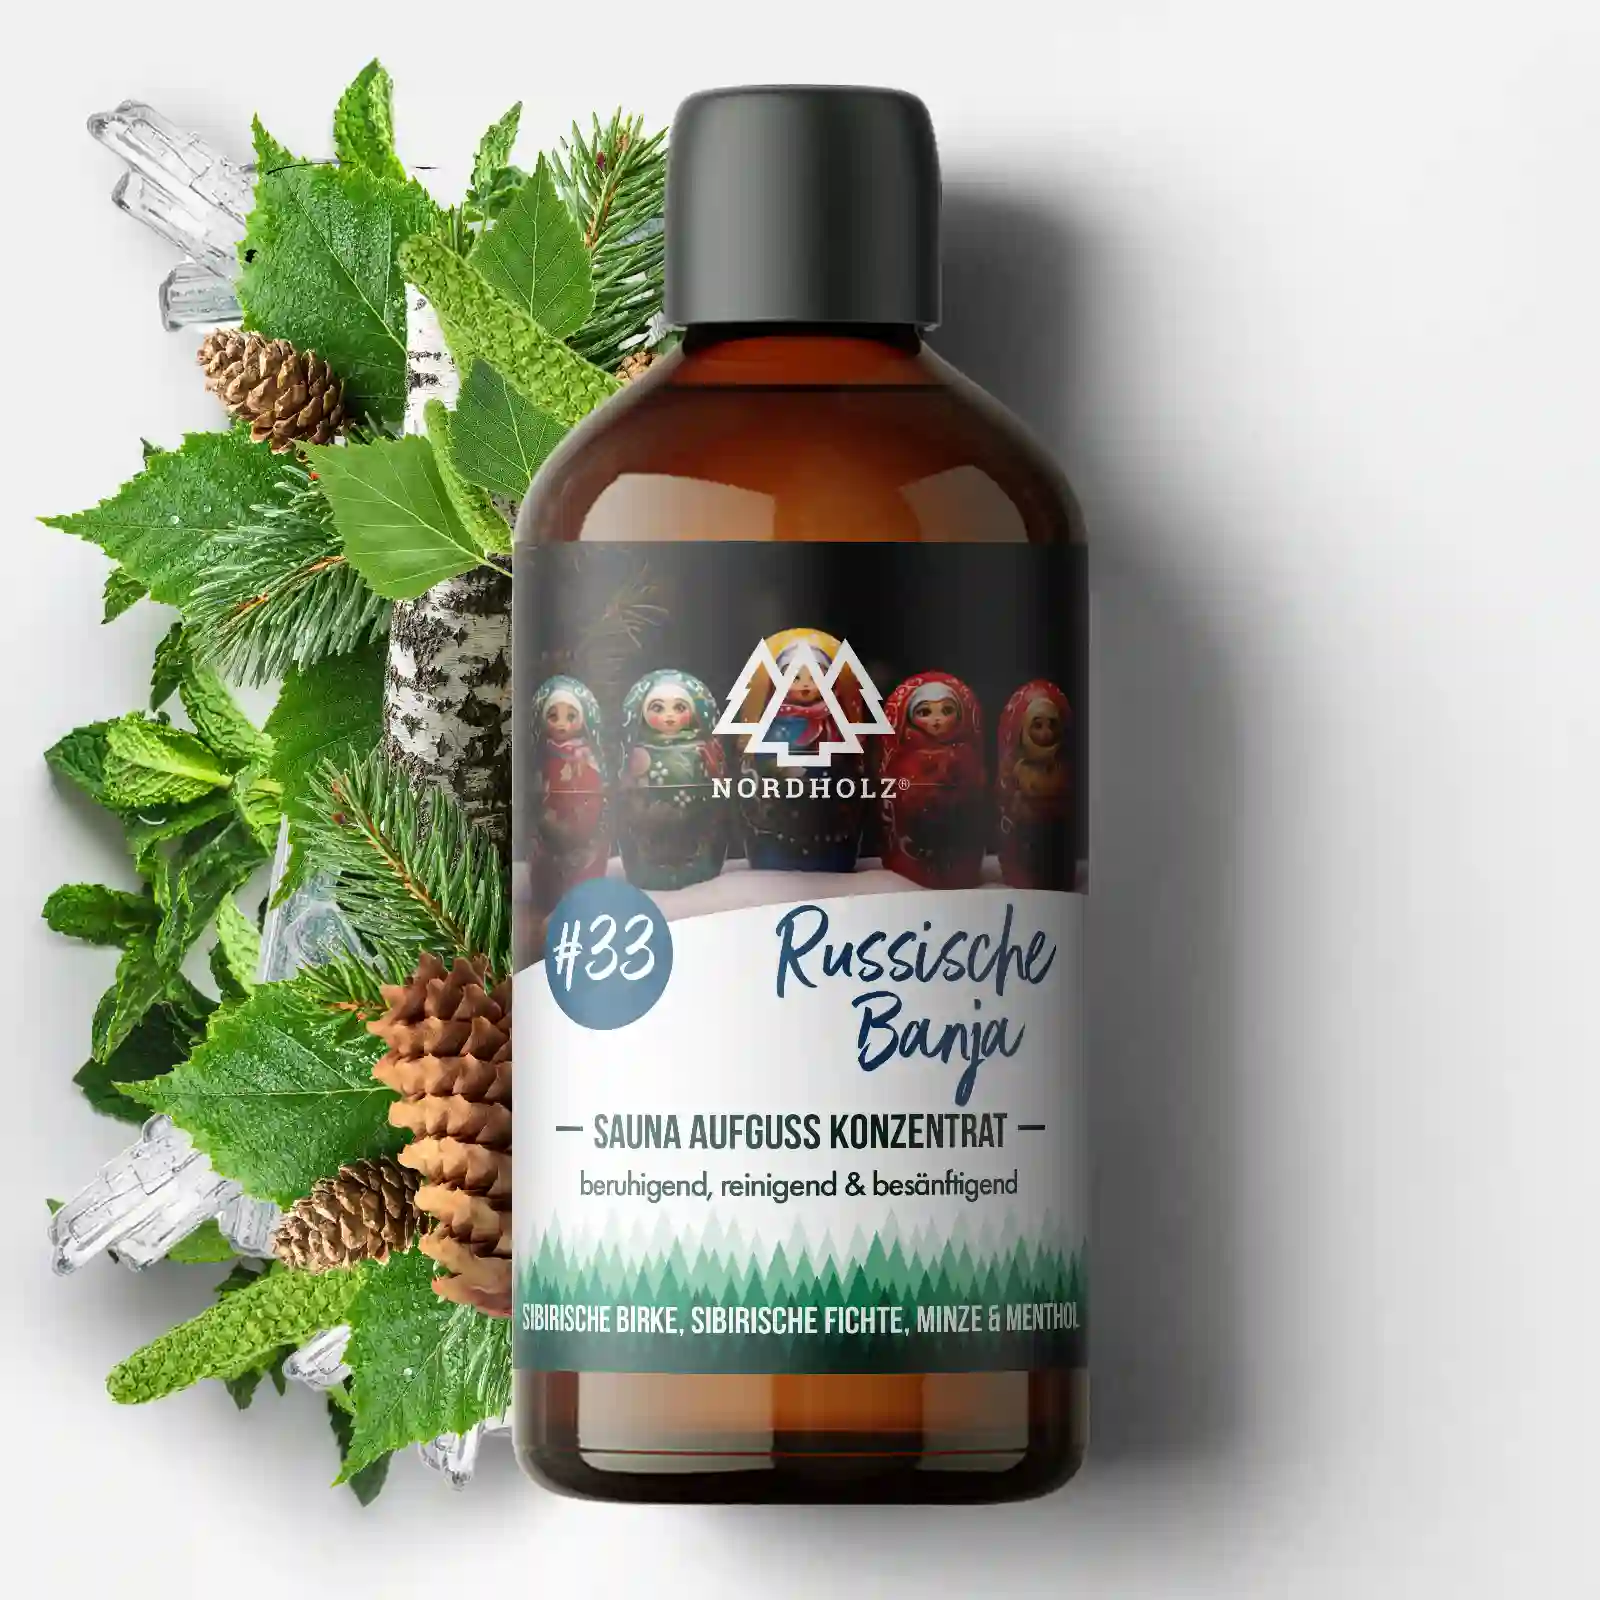
- Sauna Scents: Sauna scents can make the sauna experience even more pleasant. Choose scents that suit your taste and have a relaxing effect. Some popular sauna scents include eucalyptus, lavender, pine, or orange.
- Sauna Lighting: Atmospheric lighting creates a relaxing ambiance. LED lamps are energy-saving and durable and are well suited for the sauna. You can adjust different colors and light intensities to individually design the atmosphere in your sauna.
- Sauna Door: The sauna door should be made of heat-insulating material and be easy to open and close. Ensure a secure lock and a tight seal so that the heat remains in the sauna.
Building the Sauna - Step by Step to Relaxation
Once you have created your plan, you can begin building your sauna. Here are the most important steps to consider.
1. The Construction
- Basic Frame: Start by constructing the sauna frame from wood. Use sturdy and straight wooden beams for a secure foundation. Ensure sufficient height so that you can sit or lie comfortably in the sauna.
- Wall Cladding: For the wall cladding, use waterproof wood such as spruce, fir, or pine. The wooden boards should be clean and smooth. Ensure professional installation to avoid thermal bridges.
- Roof Elements: The sauna roof can be made of wood or another suitable material. Ensure a sufficient slope to drain rainwater.
2. The Insulation
Insulation is an important step in sauna construction, as it ensures that the heat remains in the sauna and does not escape outwards. Use suitable insulation to insulate the walls and ceiling of your sauna.
- Walls and Ceiling: Insulate the walls and ceiling of your sauna with suitable insulation. Mineral wool or foam panels are well suited. Ensure that the insulation is installed securely and tightly.
- Vapor Barrier: A vapor barrier prevents moisture from penetrating the insulation and damaging it. Use a suitable vapor barrier and install it tightly.
3. The Stove
The stove is the heart of your sauna. Choose a stove that fits the size of your sauna and provides the desired heat output. Install the stove in the sauna and connect it to the power supply. Always follow the manufacturer's safety instructions and use appropriate tools. Secure the stove with a stove guard made of fireproof material. This protects against burns and ensures safe use.
- Installation: Install the stove in the sauna and connect it to the power supply. Follow the manufacturer's safety instructions and use appropriate tools.
- Stove Guard: Secure the stove with a stove guard made of fireproof material. This protects against burns and ensures safe use.
4. The Equipment
Once the construction, insulation, and stove are installed, you can begin equipping your sauna.
- Sauna Bench: Mount the sauna bench on the wall or floor. Ensure stable and secure mounting.
- Sauna Stones: Place the sauna stones in the stove. Follow the stove manufacturer's recommendations regarding the number and type of stones.
- Sauna Lighting: Install the sauna lighting in a protected location. Use suitable lamps and wiring approved for damp rooms.
- Sauna Door: Mount the sauna door in the sauna opening. Ensure a secure lock and a tight seal.
5. The Ventilation
Adequate ventilation is crucial for a pleasant climate in your sauna and prevents the formation of moisture. Install a ventilation system with intake and exhaust openings. The ventilation should be arranged so that moist air is drawn out of the sauna and fresh air can flow in.
Safety Instructions: For a Relaxing and Safe Sauna Experience
When building and using the sauna, you must observe the safety instructions. Ensure safe electrical installation and only use devices that are suitable for operation in damp rooms.
- Overheating: Make sure the sauna does not overheat and that the stove is not overloaded.
- Children: Never leave children unattended in the sauna.
- Flammable Materials: Do not use flammable materials near the stove.
- Electrical Installation: Ensure safe electrical installation and only use devices that are suitable for operation in damp rooms.
Conclusion
Building a sauna at home is a worthwhile investment in your well-being. With a little craftsmanship, this guide, and the right plan, you can create your own oasis of well-being. Enjoy the relaxing warmth and health benefits of a sauna in your own four walls!